How to Set Up a Facebook Fundraiser that Raises Tons of Money with Little Work from You
5 Easy Steps to Empower Your Supporters to Reach Out to Their Social Networks
Facebook fundraisers are a relatively new and simple way to do peer-to-peer (P2P) fundraising, but with a lot less work required from you.
Typically, P2P fundraising requires supporting software like a CRM that allows supporters to set up their own personal fundraising pages, which they can send out to their contacts. This is great, but for smaller nonprofits, these systems take a lot of time and money to buy and set up.
Facebook fundraisers provide a simpler and less costly alternative if your nonprofit wants to do peer-to-peer fundraising but doesn’t have the people, time, or money, or the right CRM, since many of those don’t offer P2P support either.
I reached out to Nicole Williams to write a ‘how-to’ guide to Facebook fundraisers. Nicole is the development director at Friends of Women’s Protection Center in Nepal, a charity that raises money to support a safe home in Nepal that rescues women and kids from human trafficking. This is a global and local issue that matters a lot to me as well. Nicole has run several successful Facebook fundraisers that her supporters used to raise nearly $6000 in a few campaigns in less than a year, with relatively little effort from her.
Here’s Nicole’s 5-step process for setting up a Facebook fundraiser.
5 Easy Steps to Setting Up Facebook Fundraisers
One thing that’s been so great about Facebook fundraisers is that we’ve had people we didn’t even ask use it to raise money for us. That’s how easy this can be. Three of the people who ran fundraisers on Facebook did it for their birthdays. With little set-up required and 100% of donations going directly to your nonprofit, this tool is an essential part of any fundraising campaign.
In the past, each time we set up a fundraising campaign, we’ve run it through our normal email and website channels. Since last November, we’ve also created a fundraiser on Facebook to run concurrently with these usual promotions. What makes the fundraisers so successful is the peer-to-peer element, asking people who regularly support our cause to share it with their friends.
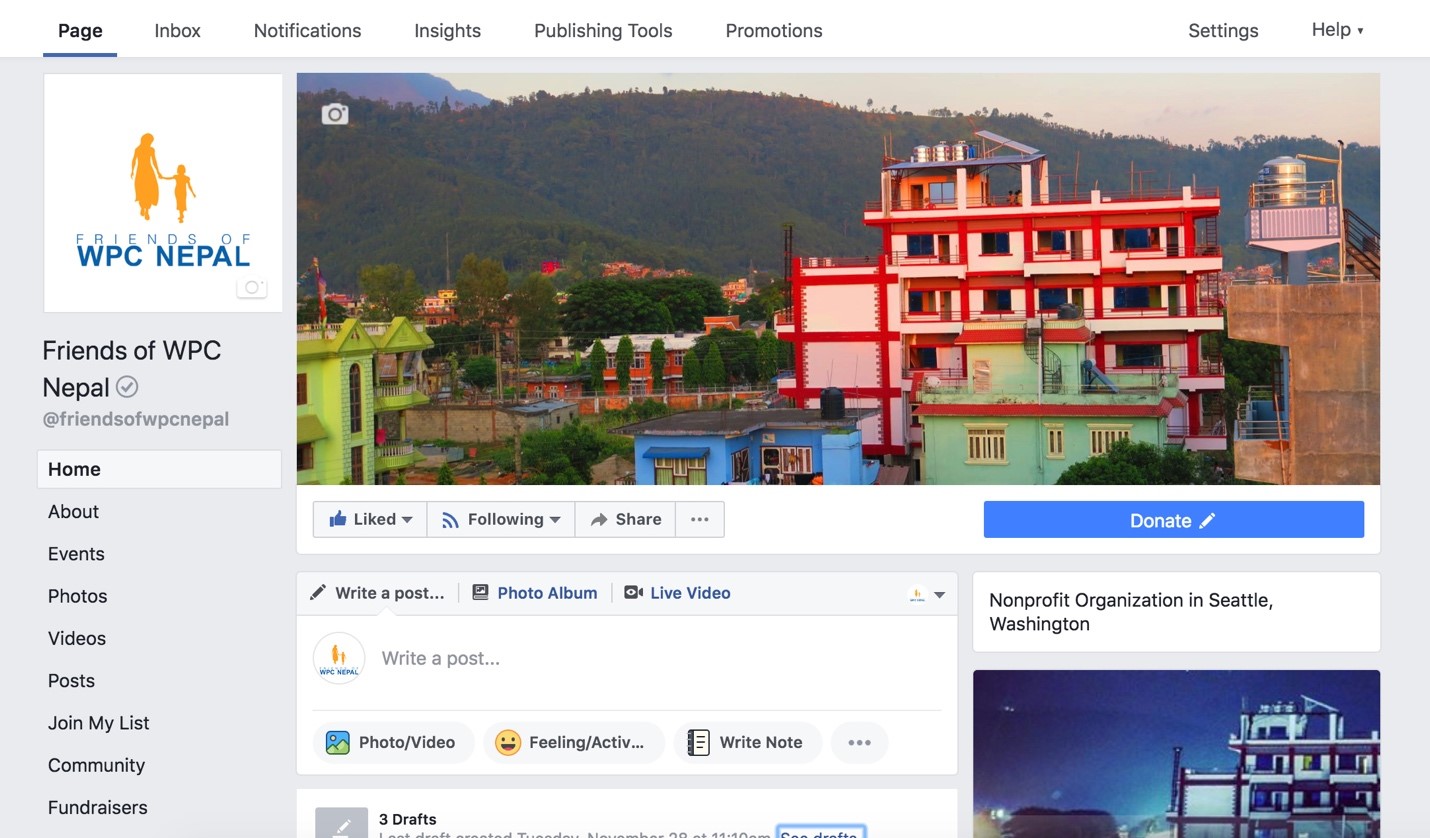
Here are the steps for setting up Facebook fundraising for your nonprofit. This same process will help you get a donate button on your page as shown below.
1. Verify Your Page
You can find page verification by clicking Settings (see screenshot) in the top right while on your page. Usually, this is a simple phone call to your nonprofit.
2. Use the Nonprofit Template
After verifying, while still in the Settings tab, look on the left and click the Edit Page menu option. Change your template to nonprofit if it is not already set to this option.
3. Set Up Bank Account and Agree to Community Standards
The next few steps are most easily accessed by visiting https://donations.fb.com/. From this page, you’ll complete the steps to agree to the community standards and get your bank account information set up. The business documentation needed is very specific. However, the process is worth it for the ease of having people click a button to support your cause.
4. Set Up the Fundraiser
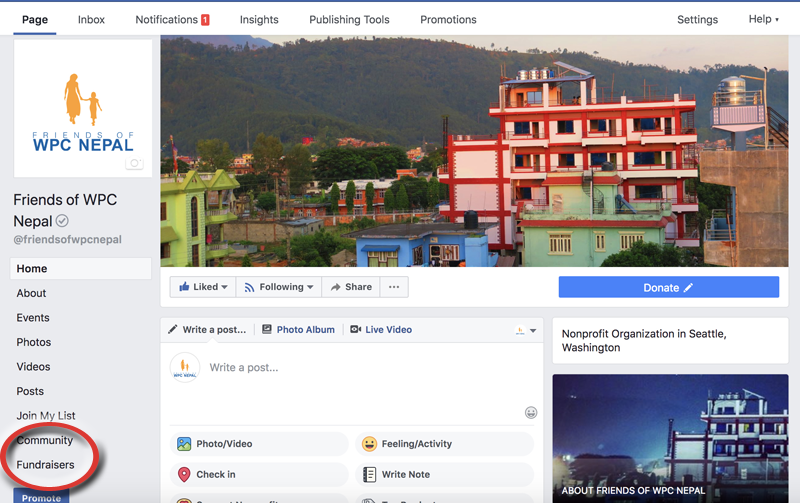
Once steps 1-3 have been completed, you are ready to ask your supporters, board members, and employees to set up fundraisers on your nonprofit’s behalf. The fundraisers button is on the left side of your Facebook timeline (see screenshot). You can also use the fundraisers tab at the bottom left of your nonprofit’s page.
There is one caveat: The nonprofit cannot set up its own fundraiser; it must be attached to a specific person’s Facebook account. In other words, you will probably have to set up the fundraiser using one of your employee’s or board member’s personal Facebook accounts. However, you can still name it something that sounds like the nonprofit is running it to avoid confusion.
Here’s an example of a fundraiser we ran recently:
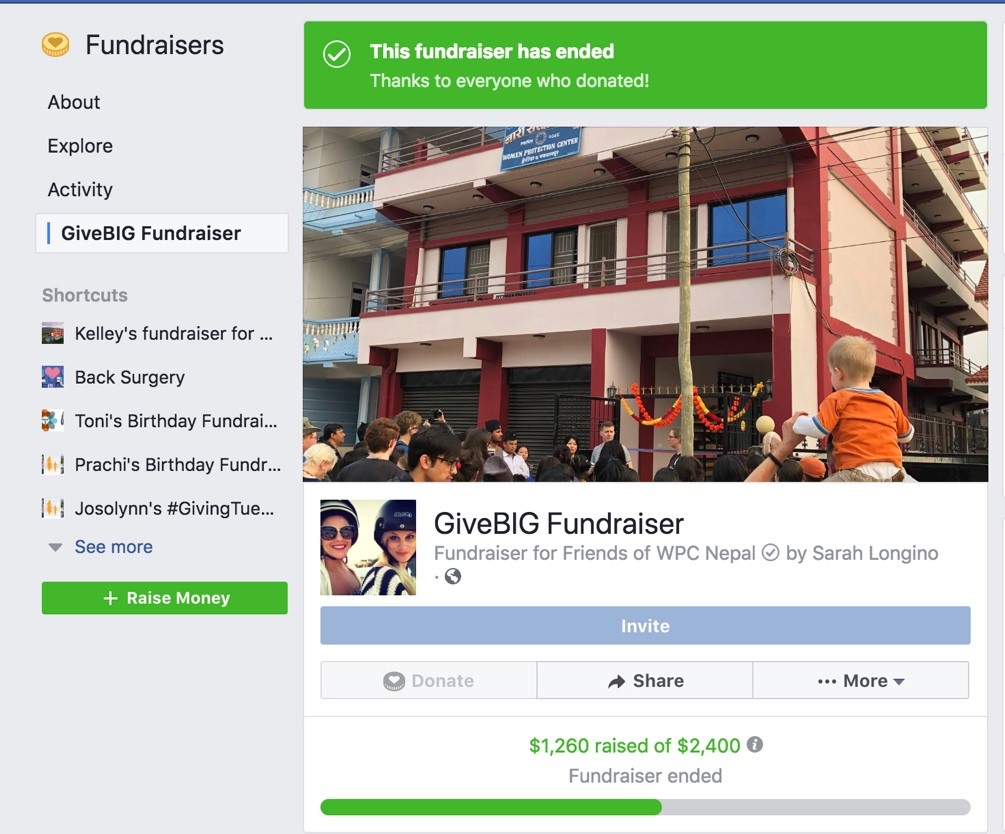
5. Check Results
While you can see the progress of your fundraiser easily through the progress bar, you may want to know who donated to your cause so you can follow up and thank them.
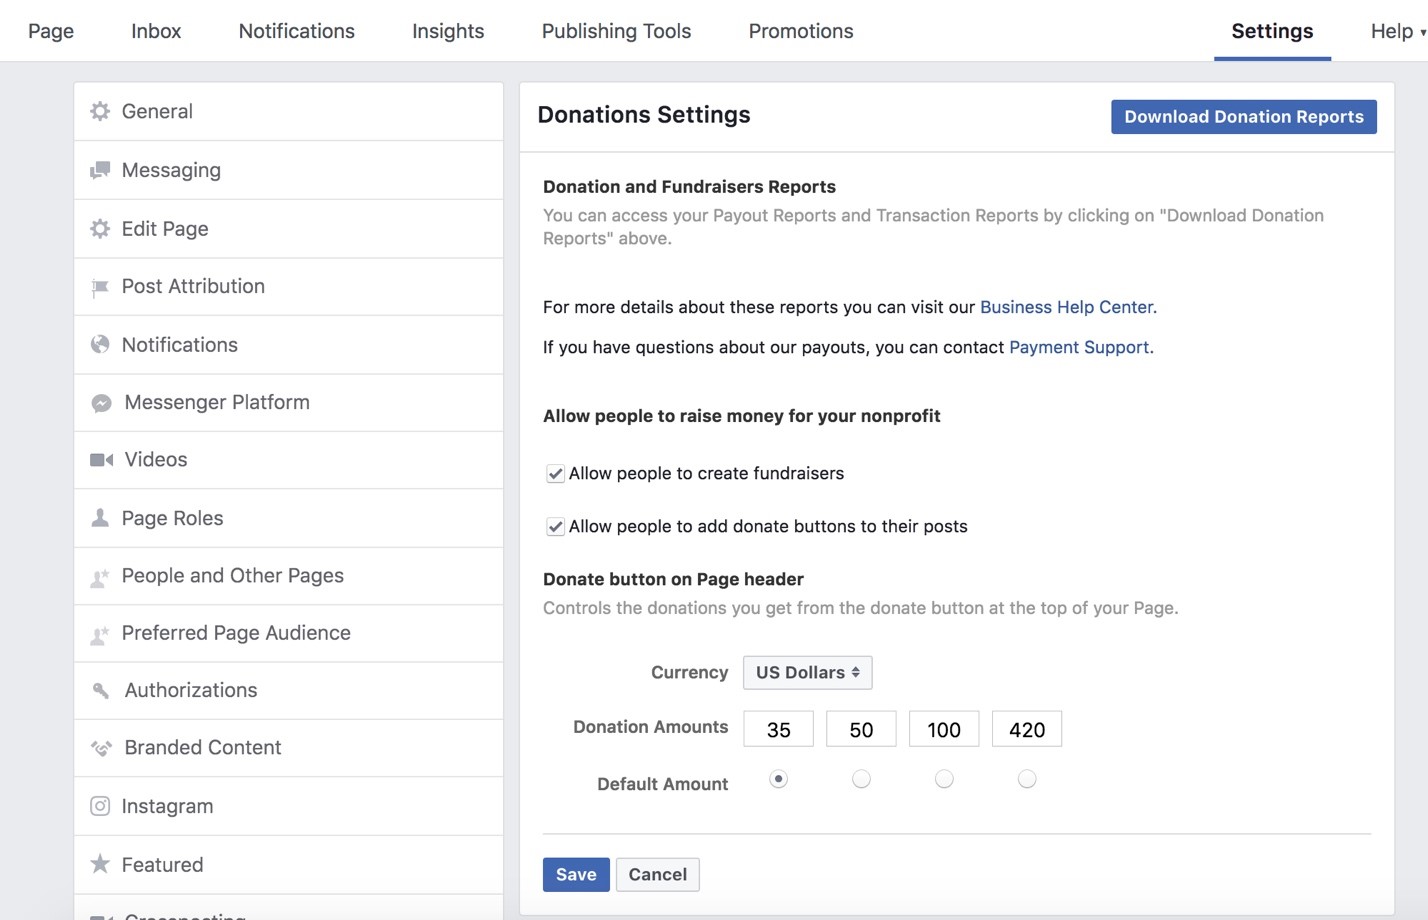
To find this information, click Settings again, and then click Donations on the bottom left of that screen. Then you’ll see this next screenshot (unless they change it again as Facebook is prone to do – this was written in June 2018). Click the blue button on the top right to download an Excel spreadsheet daily report of who has given. If a person has given their mailing or email address (Facebook prompts them after they give), you can also access the information there).
5 Extra Tips to Running a Successful Facebook Fundraiser
1. Do not run your fundraiser for too long. Create a sense of urgency by making it anywhere from 3 days to 3 weeks in length.
2. Have a clear goal. Fundraisers such as these work best for campaigns like Giving Tuesday that have a specific goal. Make sure people know what their money will accomplish.
3. Share your fundraiser. We have found that privately messaging board members and key donors who are active on Facebook and asking them to share on their personal timelines has generated new donors for us. We got 16 new donors from our last Facebook fundraiser! Considering how expensive it is to gain new donors, getting 16 with relatively little effort is a big win.
And although they did not provide email or mailing addresses, we private-messaged then to say thanks and asked them to like our page. Almost all of them did. Additionally, if you invite people to your fundraiser personally, Facebook will remind them for you.
4. Update your supporters. This is especially important if you are running your Facebook fundraiser through email and your website in addition to Facebook. Post on the donation page as you get closer to your goal to motivate people to help you finish strong.
5. Thank those who gave. As the fundraiser progresses, people’s names will appear with a note that they donated on the fundraising page. This is a great opportunity for you to write a simple comment, acknowledging and thanking the donor. If they do provide their email or mailing address, we also follow up with an email or handwritten card to say thank you. For those who ran fundraisers for us without asking, we also provided a handmade necklace from Nepal to say thanks – if we have their mailing address. A private message is sent if we do not have the mailing address.
Special Thanks to Friends of WPC Nepal
Thank you to Nicole for taking the time to write this how-to guide to Facebook fundraising. I personally am a big supporter of theirs, and I hope you are able to take this guide and put it to use for your own nonprofit in the coming years.
If you want to maximize your Facebook fundraiser donations and don’t have enough help creating web pages and sending out emails and thank you notes to supporters, feel free to reach out to ProActive Content.
Mention that you saw this guide and receive your first email for FREE*
*With purchase of email package
Want more content? Get weekly nonprofit fundraising and copywriting tips, strategies, and motivations in the ProActive Insights newsletter.